The truck restoration tips that consistently finish builds come down to one sequence: inspect the frame and cab mounts first, build a staged budget with a 15–20% contingency, then work rust/structure → drivetrain/safety → finish work. Skip that order and you will repaint panels over rot, install a built engine on a cracked crossmember, or discover seized cab-mount bolts after the body is back on. Here is what veteran builders actually do:
- Strip to the frame before committing to a budget or parts list
- Sequence: structure → brakes/steering → suspension → drivetrain → fuel/electrical → paint → interior → wheels/tires
- Budget a 15–20% contingency for hidden rust, wiring faults, and small consumables
- Prioritize stopping power and steering before any horsepower upgrade
- Source parts from vendors with documented fitment charts and clear return policies
Ozkonickustomz carries vetted aftermarket components with verified fitment for common truck platforms, making it a practical first stop before you commit to major purchases.
Table of Contents
- How do you properly inspect a classic truck before restoring it?
- How should you plan scope, budget, and timeline for a truck restoration?
- Stock restoration vs. restomod: which approach fits your truck?
- What mechanical upgrades should you prioritize on a classic truck?
- How do wheels, tires, and stance affect your restoration?
- How do you source quality aftermarket parts and avoid fitment problems?
- Paint, trim, and interior: what should you do first?
- What mistakes stall truck restoration projects?
- What tools and workspace do you need for a safe restoration?
- Key Takeaways
- What veteran builders actually learned the hard way
- Where to find vetted parts for your build
- Useful sources and further reading
How do you properly inspect a classic truck before restoring it?
Strip to the frame before you write a single check. A visual walk-around tells you almost nothing. Remove the cab, bed, and all body panels to expose the frame rails, crossmembers, and mount locations.
Eight-point frame and cab-mount checklist:
- All eight body mount locations: probe for soft metal and through-rot
- Front crossmember: check for cracks, weld repairs, and corrosion
- Rear frame rails near spring hangers: a leading hidden-rot site
- Cab corners and rocker panels: look for filler over rust
- Floor pans: probe with a pick, not just your eyes
- Bed crossmembers: check for bowing and weld repairs
- Cab-mount hardware: seized fasteners signal moisture intrusion
- Firewall seams: look for stress cracks and amateur patches
Hidden rust around cab mounts and rear spring hangers is the leading cause of abandoned projects. Builders who skip the strip-down routinely discover these failures mid-build, after paint money is already spent. — FullSizeChevy restoration guide
Document everything. Bag and label every fastener, photograph each area before disassembly, and log probe-test results. That record becomes your repair estimate and your parts list.
When to walk away: welded amateur repairs over through-rot, cracked crossmembers, or a frame that needs full rail replacement on both sides. Professional frame plating is viable for isolated damage; full replacement changes the math on almost every budget.
How should you plan scope, budget, and timeline for a truck restoration?
Stage the work. Trying to run all phases in parallel burns money and creates rework.
| Phase | Typical Duration | Budget Priority |
|---|---|---|
| Inspection & strip | 1–2 weeks | Low cost, high value |
| Rust/structure repair | 2 weeks | High — do not skip |
| Drivetrain rebuild | 3–6 weeks | High for daily drivers |
| Suspension & brakes | 1–3 weeks | Safety-critical |
| Fuel & electrical | 1–2 weeks | Safety-critical |
| Body & paint | 3 weeks | Cosmetic |
| Interior & assembly | 2–4 weeks | Cosmetic |
| Wheels & final fitment | 1 week | Last step |
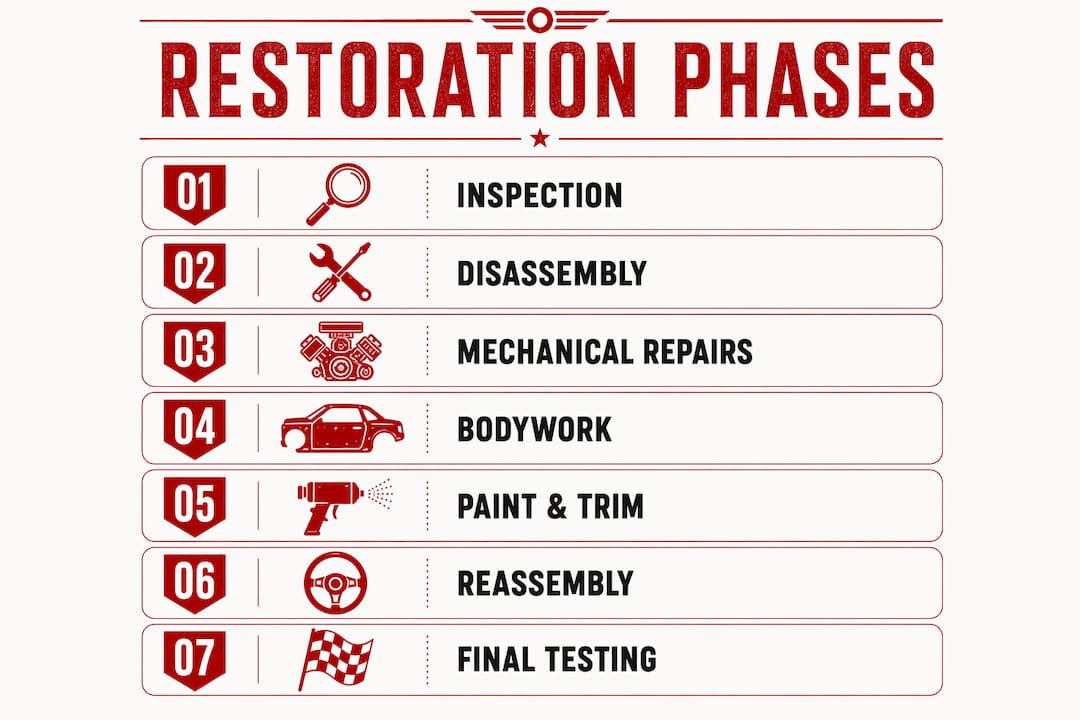
Budget allocation will vary by project scope, but a useful starting framework puts rust and body repair at the largest share, followed by drivetrain, paint, and interior. Tools and shop labor often surprise first-timers. Always reserve 15–20% on top of your projected total.
Prioritization checklist for limited budgets:
- Safety first: brakes, steering, tires, fuel system
- Drivability second: engine, transmission, cooling
- Cosmetics last: paint, chrome, interior trim
A daily driver and a show truck follow completely different timelines. A driver needs mechanical reliability fast; a show build can stage cosmetic work over years. Upgrade priorities shift accordingly. Small consumables — weatherstripping, rubber lines, fasteners — add up fast and are routinely underestimated.
Stock restoration vs. restomod: which approach fits your truck?
The decision comes down to intended use, parts availability, and how much fabrication you can tolerate.
The restomod best practice is ‘OEM-plus’: integrate modern reliability and performance while preserving factory proportions and restraint in exterior detailing. That balance protects both the truck’s character and its long-term value.
Decision criteria:
- Daily driver or weekend cruiser: OEM-plus restomod makes the most sense — modern EFI, disc brakes, upgraded suspension, factory proportions
- Show truck: stock restoration or very restrained custom work; excessive chrome and billet on utilitarian trucks reduces perceived character
- Parts availability: some platforms have deep aftermarket support; others require fabrication or NOS hunting
The classic car modernization approach works well here: keep the truck looking period-correct while upgrading what actually affects reliability and safety.
Pro Tip: Before modifying anything, photograph and measure original features — trim lines, body gaps, interior placements. If you ever want to return to stock or document the build for resale, that record is worth its weight.
What mechanical upgrades should you prioritize on a classic truck?
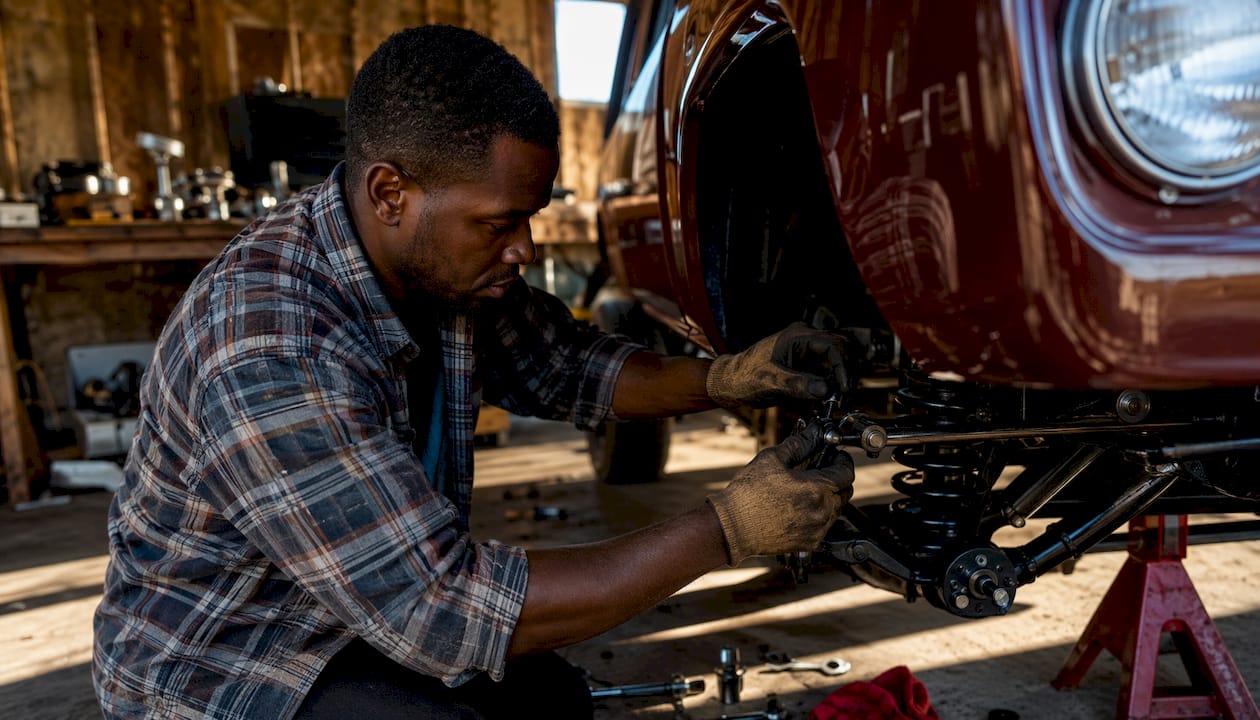
Follow the system, not the parts list. Bolting in a built engine without matching the transmission, driveshaft, rear axle, and brakes creates a truck that is fast and dangerous.
Recommended upgrade sequence:
- Rust and structural repairs — nothing else matters until the frame is solid
- Brakes and steering — front and rear disc conversion, modern master cylinder, rebuilt or upgraded steering box
- Suspension — leaf spring refresh or coilover conversion depending on use case
- Drivetrain — engine, transmission, and axle as a matched system
- Fuel and cooling — fuel system overhaul on any truck that has sat; tanks, lines, and pump all need attention
- Electrical — replace the full harness rather than splicing old wiring
Engine swaps require early coordination of cooling capacity, transmission rating, driveshaft length, and differential gear ratios. Miss one and you are pulling the drivetrain again.
Pro Tip: For tow rigs, spec the brake system and axle rating before choosing an engine. Braking capacity should match or exceed the power upgrade, not chase it.
How do wheels, tires, and stance affect your restoration?
Stance is a design decision, not an afterthought. Incorrect tire choices — especially low-profile rubber-band tires — hurt both handling and period-correct aesthetics on classic trucks.
Fitment checklist before ordering:
- Bolt pattern and center bore: must match hub exactly
- Backspacing and offset: affects track width and fender clearance
- Brake caliper clearance: critical on disc-converted trucks
- Load rating and speed rating: match to vehicle weight and use
| Use Case | Wheel Width | Tire Profile | Notes |
|---|---|---|---|
| Daily driver | 7 inches | — | Ride comfort, practical clearance |
| Restomod street | 8 inches | — | Stance and grip balance |
| Tow/utility | 7 inches | — | Load rating priority |
Defer final wheel and tire selection until late in the build, after suspension geometry is set and ride height is confirmed. Wheel well clearance changes with suspension travel.
Pro Tip: Mock up wheels with spacers and measure clearance through the full suspension travel range before committing to a wheel and tire combination. A half-inch of rub at full compression will ruin a finished fender.
Check the aftermarket wheels guide for fitment specifics by platform.
How do you source quality aftermarket parts and avoid fitment problems?
The wrong part costs twice: once to buy, once to return or rework. Vendor vetting is not optional.
One bad fitment experience — a brake bracket that doesn’t clear the caliper, a cab mount that’s 3mm off — can set a build back weeks. Documented fitment tables and a real return policy are the two things that separate a reliable vendor from a gamble.
Vendor vetting checklist:
- Documented fitment tables with year/make/model specifics
- Clear part numbers that cross-reference OEM specs
- Verified customer photos showing installed parts
- Stated return policy and warranty terms
- Direct sourcing from manufacturers when possible
Fitment verification steps: compare OEM part numbers, request dimensional drawings for critical components, and buy from vendors who accept returns on uninstalled parts. For classic truck parts on common platforms like Squarebody, OBS, and GMT800, platform-specific fitment data is available and worth verifying before checkout.
Paint, trim, and interior: what should you do first?
Sequence is everything. Spray paint over incomplete metalwork and you will be cutting it back out.
Sequencing rules:
- Complete all structural welding and seam sealing before primer
- Apply primer before any color coats
- Install bed liners after all welding and priming; spray-on liners bond best to prepared metal
- Patina preservation is a legitimate choice: it costs less, retains character, and avoids the risk of a mediocre respray
Interior priority checklist:
- Wiring and weatherstrip before upholstery
- Seat mounting and floor pan integrity before carpet
- Dash fitment and gauge placement before headliner
- Document and store original trim pieces if originality matters for resale
Interior costs are routinely underestimated. Correct-year seat covers, proper carpet kits, and period-accurate dash components add up faster than most builders expect.
Pro Tip: If you are keeping the patina, apply a quality clear coat or rust encapsulator to stabilize it. Raw patina continues to oxidize and will eventually compromise the metal.
What mistakes stall truck restoration projects?
Most stalled builds share the same root causes. Recognizing them early is the mitigation.
- Starting with cosmetics: paint and chrome before structure is the fastest way to redo expensive work
- Underbudgeting small parts: fasteners, seals, rubber lines, and clips can collectively exceed a major component cost
- Ignoring hidden rust: amateur weld repairs over rot are a red flag that escalates repair scope significantly
- Mismatched drivetrain components: engine swaps without matched transmission, cooling, and axle ratings create safety liabilities
- Wiring hacks: spliced and taped harnesses cause fires; replace, do not patch
When to outsource: steering rebuilds, axle work, frame plating, and paint prep are the four areas where professional help most often saves money versus DIY rework. A weekend build approach works well for mechanical and assembly phases; structural and paint work usually benefit from a specialist.
What tools and workspace do you need for a safe restoration?
Essential tools:
- Quality jackstands rated for the vehicle weight (never rely on a floor jack alone)
- Engine hoist for drivetrain removal and installation
- MIG or flux-core welder for structural repairs
- Torque wrench for critical fasteners
- Brake-bleeding tools and a vacuum pump
- Basic hand tools: sockets, wrenches, pry bars, picks
Workspace checklist:
- Adequate ventilation for welding and paint work
- Strong lighting at floor level and overhead
- Electrical capacity for welder and compressor on separate circuits
- Secure parts storage to prevent mix-ups and damage
Safety checklist:
- PPE: welding helmet, gloves, respirator for paint and grinding
- Fire suppression near welding and paint areas
- Safe fuel handling: drain tanks before welding near the fuel system
- Battery isolation before electrical work
- Never work under a vehicle supported only by a floor jack
Pro Tip: Before any welding near the firewall or cab, consult dent repair and panel work guidance to understand how heat affects adjacent panels and body lines. Warped metal from careless welding is expensive to fix.
Key Takeaways
A successful truck restoration requires inspecting the frame first, sequencing work from structure to safety to cosmetics, and budgeting a 15–20% contingency before buying a single major component.
| Point | Details |
|---|---|
| Inspect frame first | Strip to the frame and check all eight body mount locations before committing to a budget. |
| Follow the sequence | Work rust/structure → brakes/steering → drivetrain → fuel/electrical → paint → interior → wheels. |
| Budget a contingency | Reserve 15–20% above your projected total for hidden rust, wiring faults, and small consumables. |
| Defer wheel/tire choice | Finalize wheel and tire fitment after suspension geometry and ride height are confirmed. |
| Source from Ozkonickustomz | Ozkonickustomz provides vetted aftermarket parts with documented fitment and clear return policies for common truck platforms. |
What veteran builders actually learned the hard way
The most consistent lesson from builders with finished trucks: the strip-down is not optional. Cab mounts and rear spring hangers hide rot that looks fine from the outside. Builders who skip the full inspection and start spending on drivetrain or paint are the ones who post “project for sale, needs work” six months later.
The other pattern worth noting: builders who finish on time and on budget almost always started with a driver-focused plan. They resisted early cosmetic spending, kept the scope tight, and treated the first drive as the milestone, not the show. A truck that runs and stops correctly is worth more than a truck with a perfect paint job that needs a brake system.
Sourcing is where many performance builders lose weeks. Chasing cheap parts from unverified sellers, then waiting on returns and replacements, kills momentum. Verified fitment data and a real return policy are not premium features; they are the baseline for any vendor worth using.
Where to find vetted parts for your build
Finding the right part for a classic truck platform is genuinely hard. Fitment varies by year, cab style, and prior modifications, and a wrong part on a brake or suspension component is not just inconvenient.
Ozkonickustomz sources directly from vetted manufacturers, which means every component comes with documented fitment data, clear part numbers, and a return policy that actually works. For builders sourcing hardware during reassembly, the hood latch kit and latch kit are solid examples of the kind of finishing hardware that is easy to overlook until final assembly. Fast shipping and expert support mean you are not waiting a week to find out a part does not fit.
Browse the catalog at ozkonickustomz.com and filter by your platform before your next purchase.
Useful sources and further reading
- Classic Chevy & GMC Truck Restoration Guide — FullSizeChevy.com: The most thorough platform-specific guide for Squarebody, OBS, and GMT800 builds. Start here for inspection checklists and phase sequencing.
- OBS Chevy Truck Build Planning Guide — FullSizeChevy.com: Focused on OBS-era trucks with detailed drivetrain system-matching guidance for LS and other swaps.
- How to Restore a Classic Truck — ClassicCarsArena: Strong on budgeting, contingency planning, and the small-parts problem that catches beginners off guard.
- Classic Truck Restoration: Reviving a Vintage Workhorse — Highway Heritage: Covers fuel system overhaul and bed liner sequencing in practical detail.
- Top 10 Restoration Mistakes — Classic Industries: Video-based walkthrough of the most common errors on classic GM C/K pickups; useful for stance and wheel fitment guidance.
- Common Mistakes in Restoring Classic Ford Pickups — Classic Industries: Ford-specific version of the same format; covers 1957–1991 F-Series pitfalls including rust, brakes, and interior sequencing.