Use a star or crisscross pattern matched to your lug count, crossing the hub instead of moving in a circle, and tighten in three stages: hand-thread, snug, then torque to spec in two passes with the tire touching the ground. Set your torque wrench to the manufacturer’s exact ft-lbs or N·m figure, not a generic chart, and re-torque every nut after some miles of driving to ensure proper seating.
TL;DR:
- Using the correct star or crisscross pattern matching your stud count reduces the risk of warping rotors and uneven wheel seating.
- Proper torque involves staged tightening in sequence, rechecking at 50 to 100 miles, and always using a calibrated torque wrench set to the manufacturer’s specified value.
- Impact guns are suitable only for initial tightening; final torque must be done with a reliable, calibrated wrench to prevent stud damage or failure.
- Lubricating threads or using impact tools during final tightening can cause over-tightening and hardware failure, so clean, dry threads are essential.
- Mismatched hardware, such as incorrect seat angles or length, can undermine correct torque procedures, emphasizing the importance of sourcing parts matching the specific wheel and stud design.
Table of Contents
- Why the Wheel Lug Nut Pattern Matters by Stud Count
- How Do You Torque a Wheel Correctly, Step by Step?
- What Torque Spec and Wrench Do You Actually Need?
- The Mistakes That Actually Break Wheels
- When Should You Re-Check Your Lug Nut Torque?
- Why Fitment-Correct Hardware Matters as Much as Technique
- A Mechanic’s Bottom Line on Getting This Right
- Get the Right Fasteners Before You Torque Anything
- Sources
Why the Wheel Lug Nut Pattern Matters by Stud Count
The wheel torque sequence isn’t arbitrary. Going around a hub in a circle pulls the wheel slightly off-center as each nut seats, which can warp a rotor or leave the wheel riding unevenly. Crossing to the opposite side each time distributes clamping force evenly as the wheel seats against the hub.
The exact lug nut torque pattern changes with stud count:
- 4-lug: Tighten in an X, hitting opposite corners, like 12 o’clock, then 6, then 3, then 9.
- 5-lug: The classic star sequence, often written as 1-3-5-2-4, skips two positions each time instead of moving to the next nut over.
- 6-lug: Alternate opposite pairs, a common order being 1-4-2-5-3-6, so you’re always jumping across the hub.
- 8-lug: Alternate around the hub in a star, never moving to an adjacent stud.
A clock-face visualization makes this foolproof. Mentally map your lug positions to clock numbers, mark the first nut with a grease pencil, and work your way across rather than around. On an 8-lug truck wheel this trick alone eliminates the most common installation mistake: accidentally circling instead of crossing.
How Do You Torque a Wheel Correctly, Step by Step?
Getting the wheel tightening sequence right is only half the job. The order you tighten and the way you tighten both matter, and skipping stages is where most DIY installs go wrong.
- Clean the mating surfaces. Wipe down the hub face and studs, and check threads for dirt, rust, or damage before the wheel goes anywhere near the studs.
- Test-fit dry. Slide the wheel on and confirm it sits flush against the hub with no gap or wobble.
- Hand-thread every nut. Start each lug nut by hand for at least a few full turns. This is the single best way to catch a cross-threaded stud before it becomes an expensive problem.
- Snug in sequence. Using a hand wrench, not a power tool, snug all nuts down in your star pattern.
- Lower until the tire touches the ground. The wheel needs enough resistance that it won’t spin during final torque, though full vehicle weight on the tire isn’t necessary for an accurate reading.
- First torque pass at partial spec. Set the wrench to roughly 40 to 60% of the final number and go around the pattern once.
- Second pass at full spec. Follow the same star sequence and bring every nut to the manufacturer’s final torque figure, pulling smoothly to the click and stopping there.
Pro Tip: Keep a small notebook or your phone’s notes app in the glovebox and log the torque value and date every time you pull a wheel. If a nut ever backs off between checks, that log tells you whether it was a bad seat or a bad stud.
Two full passes matter more than people expect. Staged tightening lets components seat naturally instead of forcing one side of the wheel tight while the other side is still loose.
What Torque Spec and Wrench Do You Actually Need?
Every truck, SUV, and car has its own number, and that number lives in the owner’s manual or comes straight from the wheel manufacturer if you’re running aftermarket wheels with different hardware. A general chart is a starting point for sanity-checking, never a substitute for the actual spec.
Watch the units. Torque wrenches are marked in either ft-lbs or N·m, and mixing them up is an easy way to under or over-tighten a wheel by a wide margin. Double-check the scale on your wrench before you dial in a number from the manual.
Three wrench styles cover almost every situation:
- Click-type: Set the target torque, pull until it clicks, and stop. Recommended for most DIY and shop work because the feedback is unmistakable.
- Beam-style: Simple and durable, but you have to read a needle in real time, which is easy to misjudge under a truck.
- Digital: Precise and often logs values, though it depends on batteries and needs its own care.
Torque wrenches drift over time. Periodic calibration matters, and a wrench that’s been dropped or stored under tension for months is a wrench you shouldn’t trust blindly. As a rough auxiliary reference only, common stud sizes run roughly within typical torque ranges depending on diameter, but always refer to your vehicle’s specific torque requirements. (https://www.onallcylinders.com/2024/12/08/proper-lug-nut-torque-specs-tightening-sequence-other-wheel-installation-tips/), but your vehicle’s own spec always wins.
The Mistakes That Actually Break Wheels
Most wheel failures trace back to a handful of habits, and they’re all avoidable.
- Never lubricate the threads. Torque specs assume clean, dry threads. Anti-seize or oil on lug nuts can increase preload by roughly 20 to 30%, which means a nut torqued to the “correct” number is actually far tighter than intended, and studs stretch or snap as a result.
- Skip the impact gun for final torque. Impact drivers are fine for spinning nuts down for the initial fit, but they hide how much force they’re really delivering. Final torque needs a calibrated wrench, full stop.
- Catch cross-threading early. If a nut doesn’t spin on smoothly by hand, stop and back it out. Forcing it damages both the stud and the nut and often isn’t obvious until the wheel starts making noise months later.
- Know what’s at stake. Uneven or excessive torque leads to warped rotors, broken studs, and in the worst cases, a wheel that separates from the vehicle while driving.
When Should You Re-Check Your Lug Nut Torque?
New installs settle. That’s normal, and it’s exactly why a re-check isn’t optional.
- Re-torque after 50 to 100 miles on any new wheel mount, new rotors, or after adding wheel spacers.
- Check again at seasonal tire swaps, since nuts that sat untouched for months are worth confirming before a long drive.
- Inspect after towing or off-road use, when vibration and load stress fasteners more than everyday driving.
- Look for corrosion, damaged threads, or a stud that looks stretched, and replace hardware rather than reuse anything questionable.
Why Fitment-Correct Hardware Matters as Much as Technique
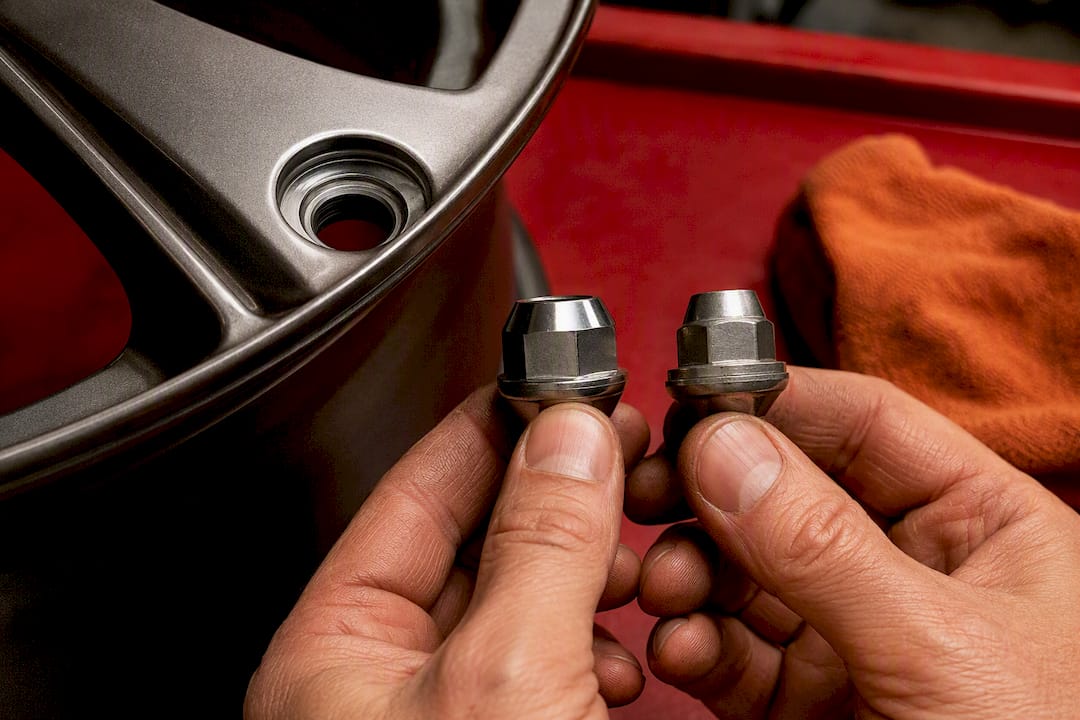
A perfect torque sequence can’t fix a mismatched stud or a lug nut with the wrong seat angle. Ozkonickustomz sources fasteners and wheel hardware from vetted manufacturers specifically so fitment and thread quality aren’t a gamble, which matters most on performance and heavy-duty truck builds running non-stock bolt patterns. When a stud is stretched, a nut seat doesn’t match your wheel, or you’re upgrading to a different aftermarket wheel design, the right replacement hardware matters as much as the sequence itself.
A Mechanic’s Bottom Line on Getting This Right
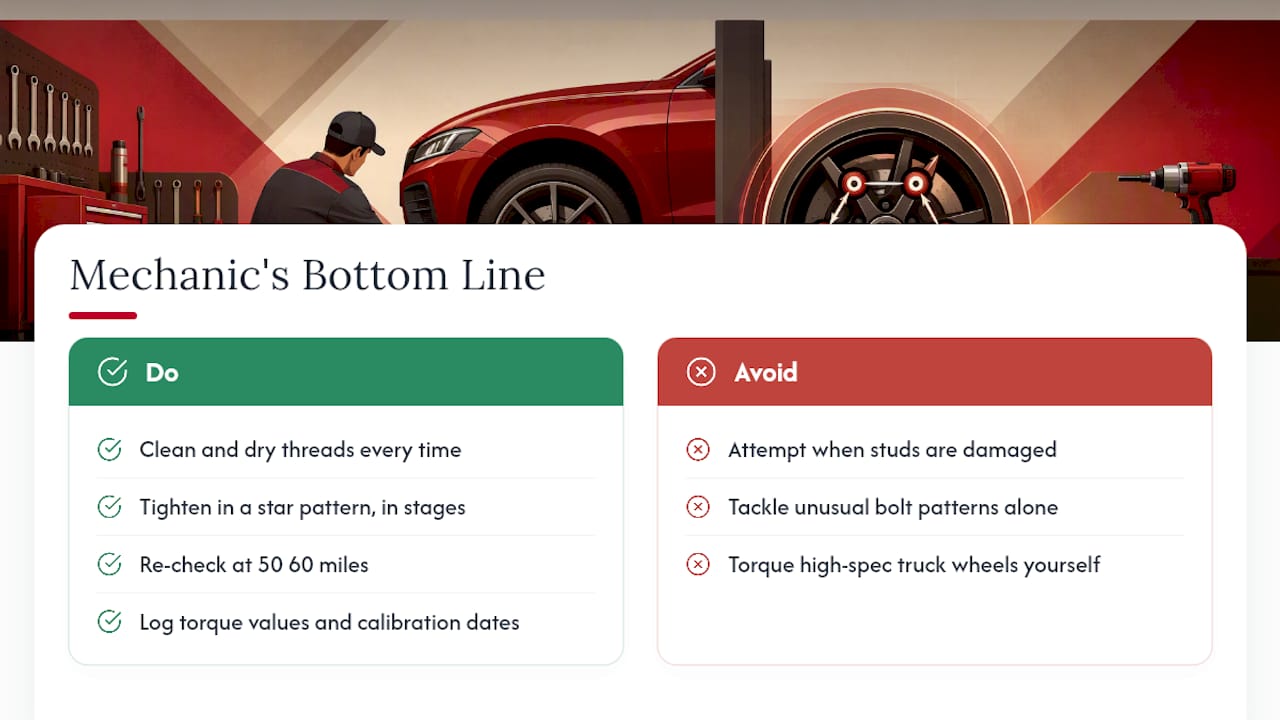
Boil it down to three things: clean, dry threads every time, a star pattern tightened in stages, and a re-check at 50 to 100 miles. That’s the whole job done right.
Call a professional when studs are already damaged, you’re working with an unusual bolt pattern, or you’re torquing high-spec truck wheels where a botched sequence stretches studs instead of seating them properly. And keep a log. Torque values and wrench calibration dates written down beat memory every time.
— Ozkonic Kustomz
Get the Right Fasteners Before You Torque Anything
A textbook torque sequence still fails if the lug nut doesn’t match your wheel’s seat angle or the stud is the wrong length for your setup. Ozkonickustomz sources replacement studs, lug nuts, and wheel accessories built for correct fitment on common bolt patterns, not generic parts that happen to thread on.

If you’re chasing a bolt pattern you’re unsure about, a bolt-pattern measuring guide can confirm lug count and spacing before you order anything. Once you know what you need, browse aftermarket wheels built for your truck or reach out for fitment guidance so the hardware in your hands matches the spec in your manual. Head to Ozkonickustomz to check compatible parts for your vehicle and get the right fasteners before your next wheel swap.
Sources
- How to Torque Your Lug Nuts the Right Way | LugSpec
- Tech Tip: Torque Specs are for Clean and Dry Studs and Lug Nuts
- Engineerskill
- Proper lug nut torque specs, tightening sequence & other wheel installation tips | On All Cylinders